How To Use Google Images To Drive eCommerce Sales.
- September 20, 2019
- Business Advice, SEO Techniques that Work
Recently we advised about how you can make eCommerce sales (easily) from your Instagram and there is so much more to eCommerce which is constantly changing and growing. Finding out how to get ahead of the game not only involves research but learning too. Therefore we wanted to talk more about Google Images and how these can actually help you create sales. So how does this work I hear you ask? Keep reading to find out.
Google replaced the “view now” on the images found within the image search with a clickable source underneath the image, so you know where it has come from. By clicking this you will be taken through to the original source. This also now works if you click on the image itself. So by sharing an image you can get clicks through to your site. Sounds easy right? Unfortunately there is a lot more to it, however, we are here to help.
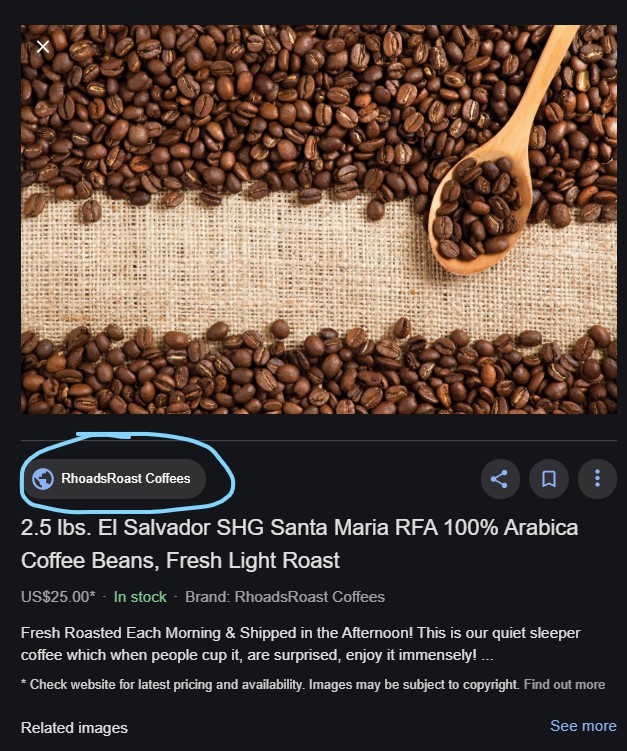
The original search of coffee beans brings up these as the first images. Once you find an image you like, you click on it.
Once you’ve clicked on the image, you should the following. Whether you want to save, view the image or just check out the site, you can do so with a click of a button.
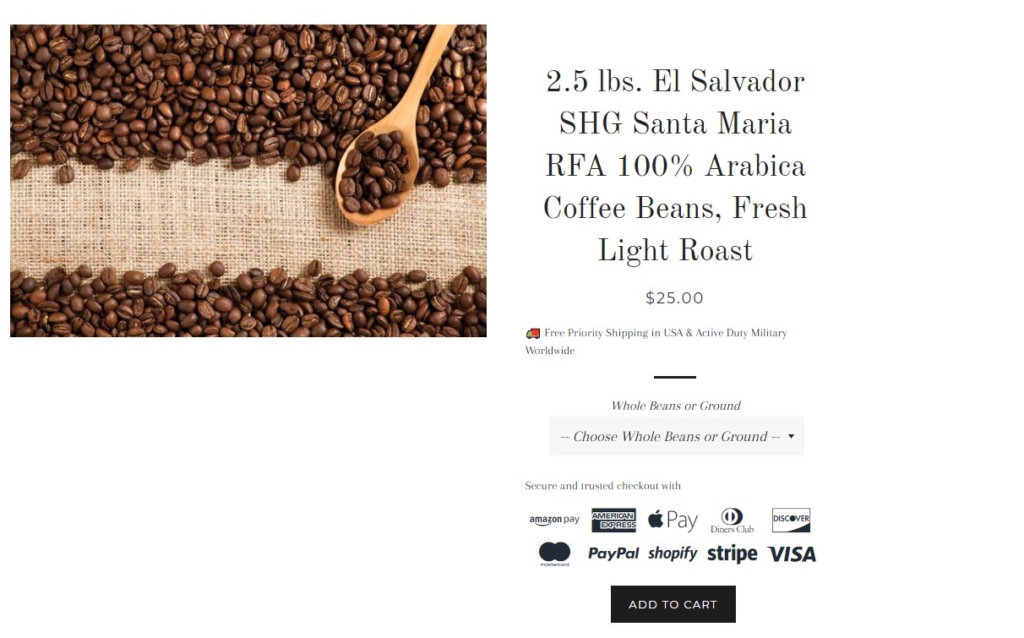
In this example, you are then taken through to the page where you can actually buy the items. Which of course, if you’re looking to make a sale this is ideal. This saves your potential customer having to search and they’re much more likely to purchase it by clicking add to cart.
How do I get my image noticed?
So the aim of the game is to get your image ranking as high as possible in the search results. Which of course you’ll know from previous SEO attempts that optimising is the place to start. Working with an image is no different. For each image, you need to make sure that it is going to rank well amongst a huge amount of other images to make it to the top. Using keywords, good quality pictures and a descriptive alt text, these are all going to make improvements to your site. There are simple steps you can take towards making your images more optimised below.
Name and save your images correctly
When it comes to saving your images correctly, it is as important as it’s made out to be. By choosing a descriptive title for your image both when you’re saving the photo and also when you’re setting up the alt text is likely to get it ranked higher. As much as it sometimes feels like you could save time by writing “pic 123424”, the time you will save later on when it comes to optimising your photos, it will be worth it. By writing a descriptive title you’re more likely to rank higher as Google relies on what you enter to help them rank.
An example is if you put “black headphones” as your ALT text and that’s what you save it as. It’s likely to get lost in a huge number of searches. However, if you’re more descriptive with what you write in the first place, you should find your image ranking higher. The more words your alt text matches to the search, you are going to rank higher.
Compress your images
When it comes to saving your images, make sure when these are edited you go through the stages of compressing the images. The slower they load, the lower down they’ll rank. Whether you save your images at all smaller compressed size or use a site afterwards which compresses the images for you such as TinyPNG. By compressing the images, it allows them to load quicker and they won’t lose any quality as long as they’re done in the correct way.
Please do get in touch with any eCommerce queries you may have and our specialised team can help with these.
Request a free quote
Want us to help you make the internet work for your business? Click below to get a proposal & quote today.
Sign Up Today


